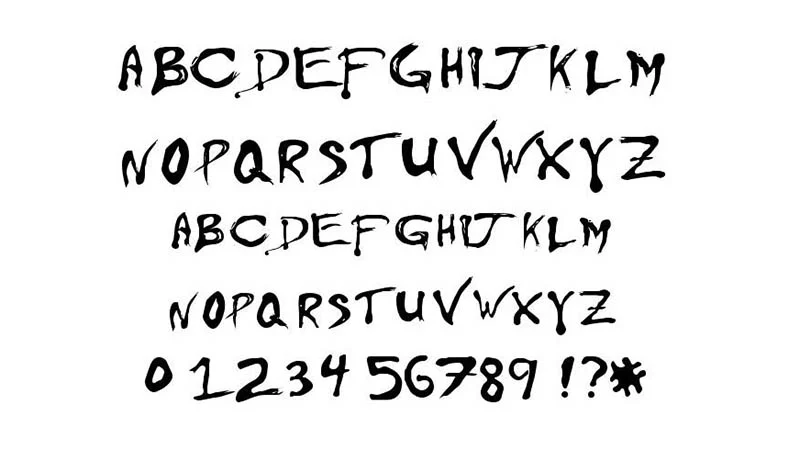
Extract the files you have downloaded.
Details: Click on the “Download” button, save the zip somewhere on your hard disk, go to the place where it is saved, double-click on the zip to open it, then either click on “Extract all files” or drag and drop the files elsewhere from the zip window (hold down the CTRL key to select several files at once)
For the 20th century versions of Windows you must install an unzip tool first.
- Under Windows 10/8/7/Vista
Select the font files (.ttf, .otf or .fon) then Right-click > Install - Under any version of Windows
Place the font files (.ttf, .otf or .fon) into the Fonts folder, usually C:\Windows\Fonts or C:\WINNT\Fonts
(can be reached as well by the Start Menu > Control Panel > Appearance and Themes > Fonts).
How to install a font under Mac OS?Mac OS X recognizes TrueType and OpenType fonts (.ttf and .otf) but not the PC bitmap fonts (.fon).
Files are compressed, you may need an utility like Stuffit Expander.- Under Mac OS X 10.3 or above (including the FontBook)
Double-click the font file > “Install font” button at the bottom of the preview. - Under any version of Mac OS X:
Put the files into /Library/Fonts (for all users),
or into /Users/Your_username/Library/Fonts (for you only). - Under Mac OS 9 or earlier:
The old Mac fonts are not supported anymore at dafont. First, you have to convert the font files (.ttf or .otf) you have downloaded.
Then drag the fonts suitcases into the System folder. The system will propose you to add them to the Fonts folder.
- Under Mac OS X 10.3 or above (including the FontBook)

